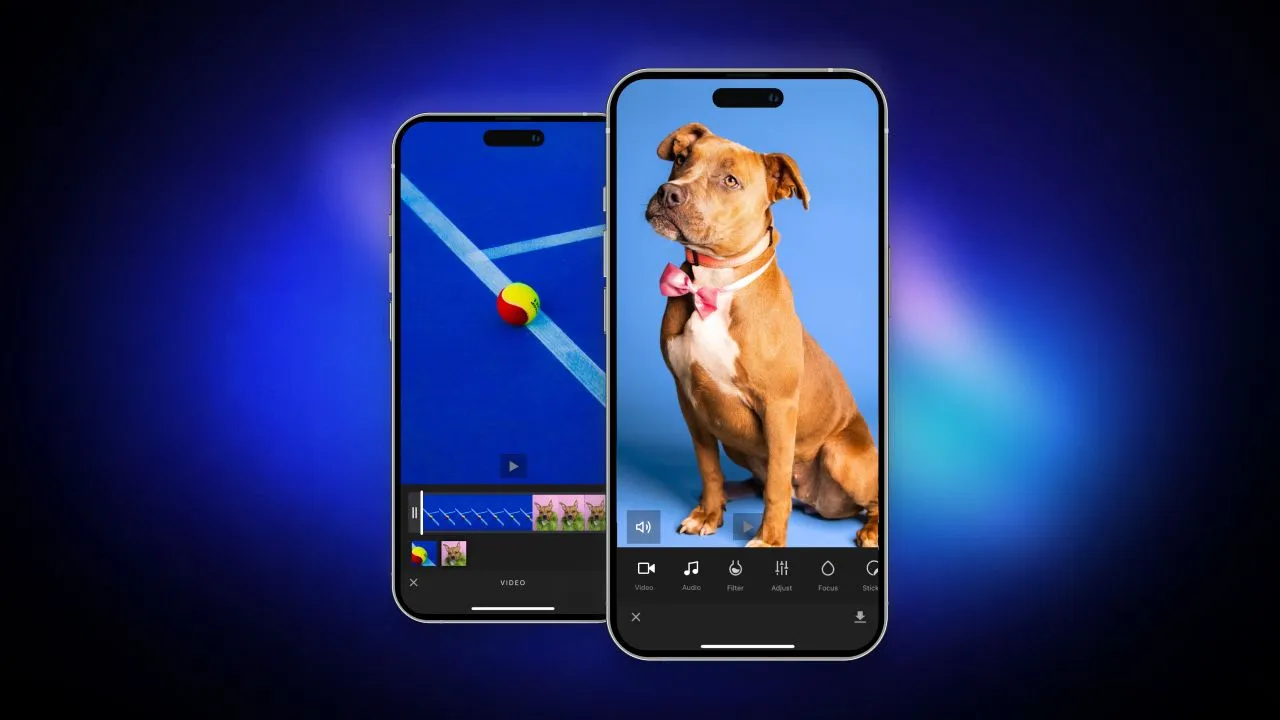


Mobile users who cut clips in TikTok or CapCut every day expect the same inside your app. Sending them out to another editor and back is where the workflow breaks, and where your app stops owning the content.
This guide covers adding a video editor to a Flutter app with CreativeEditor SDK (CE.SDK): the setup, the presets, and what you can customize once it runs.
Video editing works on both iOS and Android
Worth stating plainly, because this post used to say otherwise. When it was first published in September 2024, CE.SDK video editing shipped on iOS only. Android support landed the following month. Both platforms are supported from the same Flutter plugin today.
Why add a video editor to your Flutter app
Short-form video reset what people consider normal. Trimming a clip, adding a caption, and dropping in music is something a very large number of users now do without thinking about it, and they expect to do it where they already are.
For your app, the payoff is retention and ownership. Every export-and-reupload round trip is a chance to lose the user, and every video finished somewhere else is one you cannot template, moderate, or keep on brand.
Getting started
Requirements
- Flutter 3.3.0 or later, Dart SDK 3.4.3 or later
- iOS and Android are both supported. Check the Flutter getting-started guide for current platform minimums.
- A CE.SDK license key. Start a free trial to get one.
Add the plugin to pubspec.yaml:
dependencies:
  flutter:
    sdk: flutter
  imgly_editor: ^1.80.0
Pin with a caret rather than an exact version so you pick up patch releases. Check pub.dev for the current release before you start, since the plugin tracks the CE.SDK engine and moves regularly.
Open the editor
Import the package:
import 'package:imgly_editor/imgly_editor.dart';Then open it with an EditorSettings instance and the video preset. The license key is required. userId is optional and only used for monthly active user counting across devices.
class VideoEditorSolution {
  Future<void> openEditor() async {
    final settings = EditorSettings(
      license: 'YOUR_LICENSE_KEY',
      userId: 'YOUR_USER_ID',
    );

    final result = await IMGLYEditor.openEditor(
      preset: EditorPreset.video,
      settings: settings,
    );

    if (result == null) {
      // The user closed the editor without exporting
      return;
    }

    // Handle the exported result here: upload it, store it,
    // or hand it to the next step in your flow.
  }
}
Two things people miss on the first pass. EditorPreset.video is what gives you the timeline; the other presets open design or photo editing with no time dimension. And openEditor returns null when the user backs out, so handle that before touching the result or you will crash on cancel.
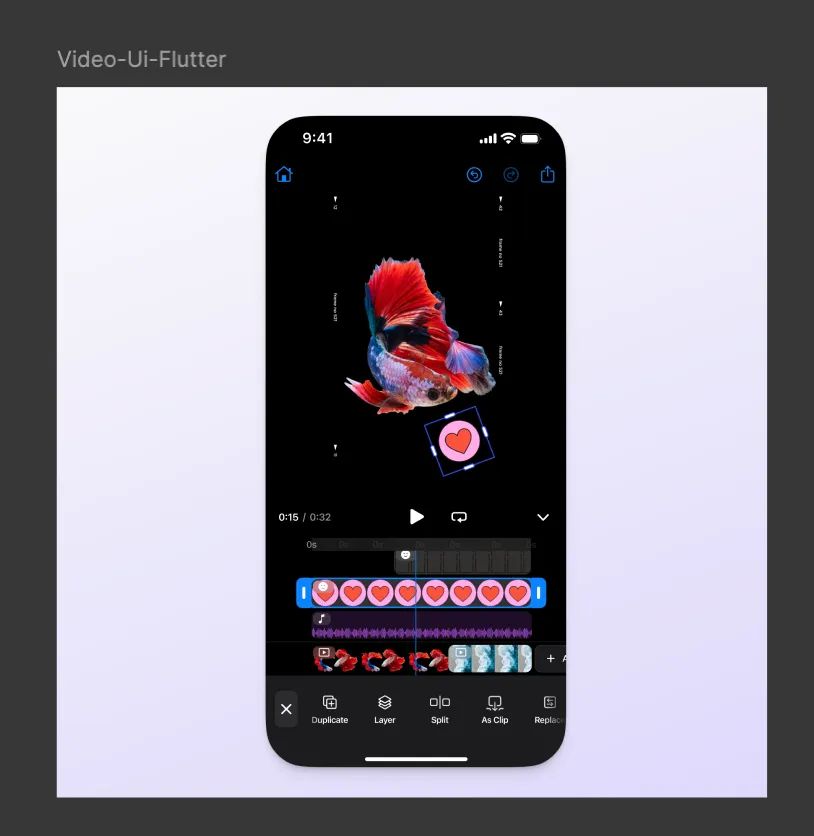
That gives users trimming, splitting, filters, text overlays, stickers, and audio.
For the full configuration surface, see the Flutter video editor docs.
Building a TikTok-style experience
The default editor covers the basics. What turns it into a short-form video experience is the content you put behind it.
Trimming and timeline control. Users position clips relative to each other and to audio tracks. This is the core interaction, and it is the one worth testing on a real device early, because timeline ergonomics on a phone are genuinely hard. We wrote up what we learned building ours in designing a timeline for mobile video editing.
Filters and effects. Filters set the tone, and a curated set beats an exhaustive one. Ten good looks get used; sixty get scrolled past.
Text and stickers. Captions matter more than they look like they should, because most social video is watched on mute.
Music and audio. A library of cleared tracks removes the biggest blocker to finishing a video.
Templates. The most effective lever of the five. Build video templates in the CE.SDK web editor and deliver them to your Flutter app, so users start from something rather than an empty timeline. See the video editor demo for what they look like.
For influencers and brand accounts
Branded templates let a creator drop footage and copy into a layout that already matches the brand. Watermarks keep attribution attached when the video travels off-platform.
For e-commerce and user-generated content
Unboxing videos, reviews, and demos are the highest-intent content on a marketplace, and they are exactly the sort of thing people abandon if editing is awkward. The same trimming, filter, and music tools cover it.
Customization
The Flutter plugin is designed to adapt to your brand and use case:
- UI customization. Theming, color palettes, and callbacks to hook into editor events.
- Video presets. Constrain length or resolution to suit your target platform.
- Templates. Generate collages, text designs, and animations in the CE.SDK web UI and ship them to your app.
- Assets. Supply your own filters, fonts, and stickers. For a niche app this is often what makes the editor feel native to your community rather than generic.
Configuration options are documented in the Flutter configuration reference.
Let an agent help
CE.SDK ships an MCP server that exposes the current documentation to AI coding tools, so an assistant can look up the real API during a session rather than reconstructing it from training data. That is worth wiring up before you start, particularly given how often the plugin version moves. Background in Introducing IMG.LY Agent Skills.
Next steps
Start from the Flutter video editor documentation, or try the web demo to see the editing model before you integrate.
Shipping on more than Flutter? We have equivalent guides for React, Vue.js, Angular, and React Native. If you are still comparing vendors, we broke down the video SDKs available for mobile apps.
Questions about your use case? Talk to us.