


Canva taught a very large number of people what a design tool should feel like. If your product has any design surface, whether that is book covers, t-shirt artwork, or social posts, that is the bar users measure you against.
The good news is that the hard part is not the editor. It is templates: giving people a starting point, then controlling exactly what they can change so the output stays on brand. This guide builds that in React with CreativeEditor SDK (CE.SDK).
If you would rather read working code than a tutorial, the finished project is on GitHub at imgly/canva-clone-react-cesdk, and there is a prebuilt Canva clone solution in the docs you can drop in as a starting point.
What CE.SDK gives you
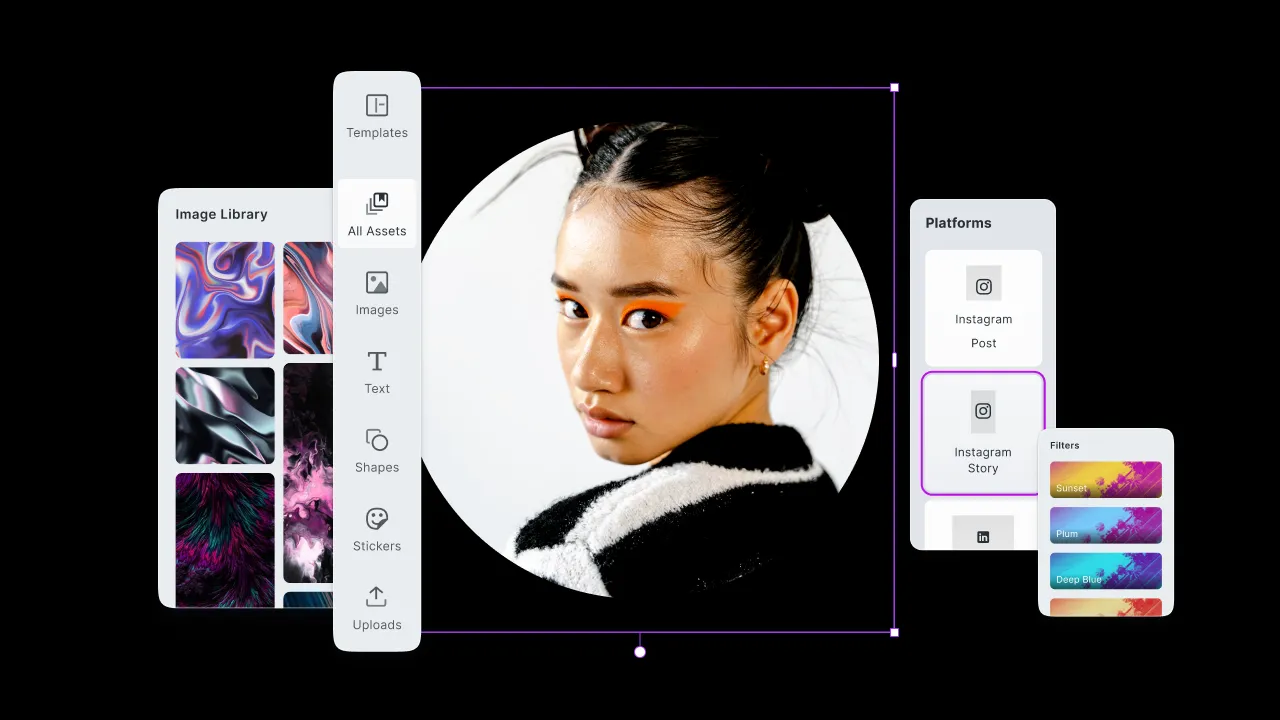
CreativeEditor SDK is an embeddable design editor that runs inside your own app, on your own domain. You mount it as a component, point it at your assets, and it handles the canvas, the layer model, text, images, and export.
The part that makes a Canva clone rather than a drawing tool is its role model. CE.SDK separates the person who builds a template from the person who fills it in.
Creator mode

In Creator mode, you build the template. Add and arrange elements, apply filters and background removal, and then decide what the next person is allowed to touch.
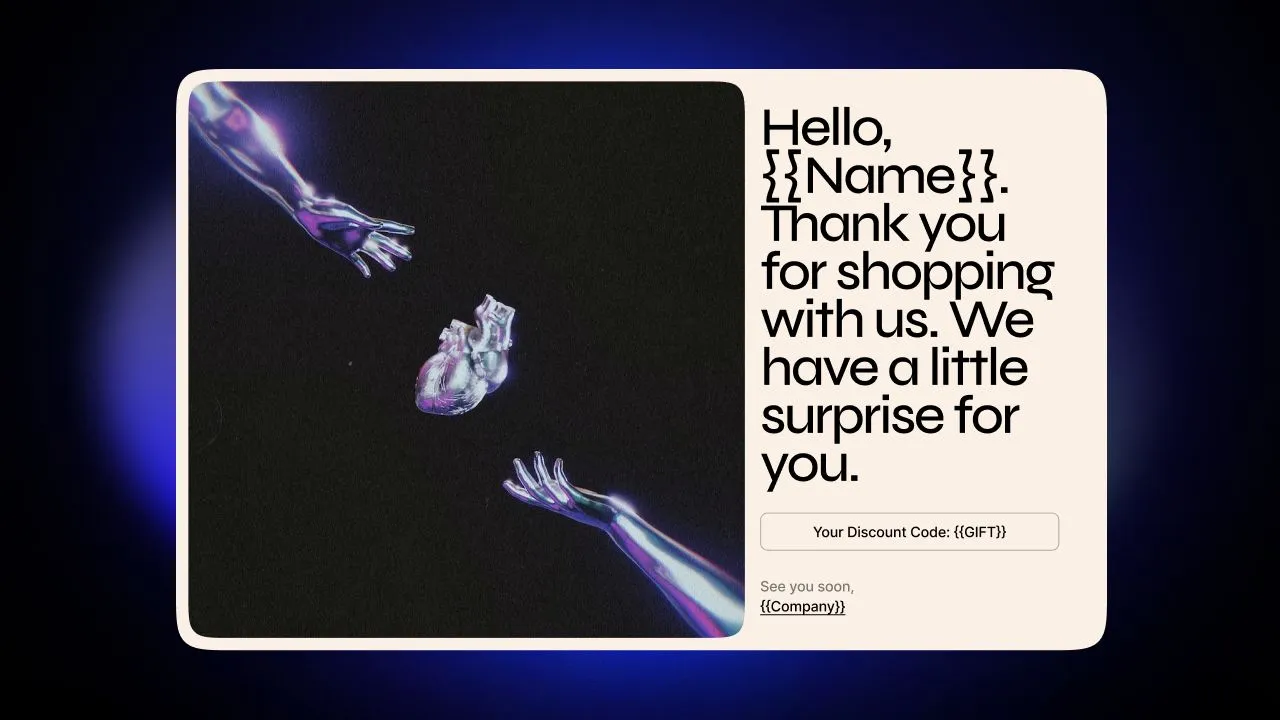
Two features carry most of the weight. Placeholders mark an element as replaceable and control whether it can be deleted, restyled, or duplicated. Text variables let you define a token like {{Name}} and set it from code, which is how you batch-generate a hundred personalized cards from one design.
Adopter mode
Adopter mode is what your end users get. They can change colors, text, and images, but only where the template’s creator allowed it. Everything else is locked, so a customer cannot accidentally drag the logo off the canvas or delete the legal line.

That split is the whole trick. It is why a template-based editor produces usable output at scale and a blank canvas does not.
Build it
Prerequisites
- Node.js 20+ and npm 10+
- A React 18+ project on a modern build tool
- A CE.SDK license key. Start a free trial to get one.
Create a project with Vite:
npm create vite@latest canva-clone -- --template react
cd canva-clone
npm install @cesdk/cesdk-js
Step 1: Mount the editor
CE.SDK ships a React component, so you do not manage the instance lifecycle yourself. Import it from the /react entry point and pass a config object and an init function.
// src/DesignEditor.jsx
import CreativeEditor from '@cesdk/cesdk-js/react';

const config = {
  license: 'YOUR_LICENSE_KEY',
  userId: 'YOUR_USER_ID',
};

const init = async (cesdk) => {
  await Promise.all([
    cesdk.addDefaultAssetSources(),
    cesdk.addDemoAssetSources({
      sceneMode: 'Design',
      withUploadAssetSources: true,
    }),
  ]);

  await cesdk.createDesignScene();
};

export default function DesignEditor() {
  return (
    <CreativeEditor config={config} init={init} width="100vw" height="100vh" />
  );
}
That already gives you a working design editor with stock assets, fonts, shapes, and upload. Render it from App.jsx and run npm run dev.
Name your own component something other than CreativeEditor, or it collides with the import.
Step 2: Add a template library
Templates are the difference between a design tool and a Canva clone. You register a template source, add assets to it, and tell CE.SDK what to do when a user picks one.
const init = async (cesdk) => {
  const engine = cesdk.engine;

  await cesdk.addDefaultAssetSources();
  await cesdk.createDesignScene();

  // Register a source and define what happens on click
  engine.asset.addLocalSource('my.templates', undefined, async (asset) => {
    const uri = asset.meta?.uri;
    const scene = engine.scene.get();
    if (!uri || scene == null) return undefined;

    await engine.scene.applyTemplateFromURL(
      new URL(uri, window.location.href).href
    );
    return scene;
  });

  // Add templates to it
  engine.asset.addAssetToSource('my.templates', {
    id: 'postcard-1',
    label: { en: 'Postcard' },
    tags: { en: ['postcard', 'card'] },
    groups: ['cards'],
    meta: {
      thumbUri:
        'https://cdn.img.ly/assets/demo/v3/ly.img.template/thumbnails/cesdk_postcard_1.jpg',
      uri: 'https://cdn.img.ly/packages/imgly/cesdk-js/latest/assets/templates/cesdk_postcard_1.scene',
    },
  });
};
applyTemplateFromURL is the important call. It applies the template to the current scene rather than replacing it wholesale, which preserves the user’s session and any content they have already added.
In production, addAssetToSource is where your own designs go. A template is a .scene file, so the loop is: build it in Creator mode, save it, host it, and register it here with a thumbnail.
If you are generating designs from data rather than letting users pick, engine.scene.loadFromURL() plus engine.variable.setString() plus engine.block.export() is the batch path. The template library docs cover both directions.
Step 3: Export
const page = engine.scene.getCurrentPage();
const blob = await engine.block.export(page, { mimeType: 'image/png' });

const anchor = document.createElement('a');
anchor.href = URL.createObjectURL(blob);
anchor.download = 'design.png';
anchor.click();
PNG covers most on-screen use. If people are ordering physical prints, export print-ready PDF instead, which handles CMYK and bleed properly.
A note on the old version of this guide
Earlier versions of this tutorial configured templates through a presets.templates object passed into CreativeEditorSDK.init(). Both were removed. init() became create(), which does not build a scene for you and instead lets you configure the SDK first, and presets gave way to the Asset API shown above. If you are maintaining an integration written against the old shape, the docs carry per-version migration notes listing every changed option.
Let an agent build it
If you work in an AI-assisted editor, Agent Skills for CE.SDK load the current documentation into Claude Code, Cursor, and similar tools, so you get code written against today’s API rather than the version that happened to be in the training data. That matters here more than usual, because this exact tutorial was outdated for a while and models learned from it. There is also an MCP server for live lookup. Background in Introducing IMG.LY Agent Skills.
Where to take it
The obvious next steps are your own templates and your own assets. After that:
- Custom UI. Reorder or replace editor components with
setComponentOrder({ in: location }, order), and register your own buttons and panels. See the UI extensions guide. - Theming. Match your product with
cesdk.ui.setTheme()or the theme generator. - Brand assets. Serve fonts, logos, and imagery from your own backend so users only see approved material.
- Automation. Text variables plus the engine API generate personalized designs at volume. We built an NFT art collection generator on exactly that.
If you are coming from Canva’s own API rather than starting fresh, two follow-ups go deeper: why teams move to a white-label alternative to Canva Connect, and a step-by-step guide to migrating from Canva Connect to the IMG.LY SDK.
Questions about your use case? Talk to us.